How to mine Ethereum on Ubuntu 20.04. LTS

Prerequisites⌗
A working installation of Ubuntu 20.04 LTS is required. An Advanced user can install the server version while a neophyte can install the desktop version. The installation process for Ubuntu Server Edition is slightly different from the Desktop Edition; Ubuntu Server doesn’t have a GUI by default. The guide assumes you have root privileges to the system. This guide also assumes you already have the necessary hardware to mine Ethereum using the ETHASH algorithm.
disclaimer⌗
This guide was tested using 5 AMD RX580 gpu’s with 8GB GDDR5 memory (samsung).
Enable kernel boot option that allows control of GPU power states⌗
To enable undervolting and overclocking of AMD GPU’s, A “ppfeaturemask” Kernel Parameter Is Required. This is often accomplished via a system’s boot loader (E.g. GRUB). If manually loading the driver, pass ppfeaturemask= as a modprobe parameter.
- Replace
GRUB_CMDLINE_LINUX_DEFAULTandGRUB_CMDLINE_LINUXlines with the parameters below:
You can also use amdgpu.ppfeaturemask=0xffffffff but a higher value causes artifacts on some models under the RX 400/500 series.
Install AMDGPU Driver + OpenCL⌗
The commands below simplify the installation of the AMDGPU graphics and compute stack by encapsulating the distribution specific package installation logic by using command line options that allow specifying the Variant of the AMDGPU stack to be installed. For GPU mining, we will be using the Pro variant only.
Download the driver
The parameters --opencl=pal,legacy,rocm specify the OpenCl implementation to install. OpenCL is an optional component of the Pro variant and is installed only if it is specifically requested.
| Option | Description |
|---|---|
Pal | Provides support for Vega 10 and newer hardware. |
Legacy | Provides support for hardware older than Vega 10. |
rocm | Optional component. |
The parameter --headless specifies to install only the OpenCL portion of the Pro variant (omitting the OpenGL portion). This is desirable because the GPU’s will be operating in headless compute mode.
optional
Add yourself to the Video and Render group⌗
To access the GPU’s, you must be a user in the video and render groups.
Note: render group is required only for Ubuntu v20.04.
By default, you must add any future users to the video and render groups. To add future users to the video and render groups, run the following optional command:
Add amdgpu-pro PATH to new line⌗
Hard reboot⌗
It would be safer to do a Alt+SysRq+(R,E,I,S,U,B or O) than force a hard reboot.
- R Switch the keyboard from raw mode to XLATE mode
- E SIGTERM everything except init
- I SIGKILL everything except init
- S Syncs the mounted filesystem
- U Remounts the mounted filesystem in read-only mode
- B Reboot the system, or O Turn off the system
The SysRq key is a key combination understood by the Linux kernel, which allows the user to perform various low-level commands regardless of the system’s state. It is often used to recover from freezes, or to reboot a computer without corrupting the filesystem. Its effect is similar to the computer’s hardware reset button (or power switch) but with many more options and much more control.
Data loss is possible from running applications but it shouldn’t knacker your filesystem. If you a have particularly huge disk write cache it might be best to increase the sleep value.
Install and run your favorite miner⌗
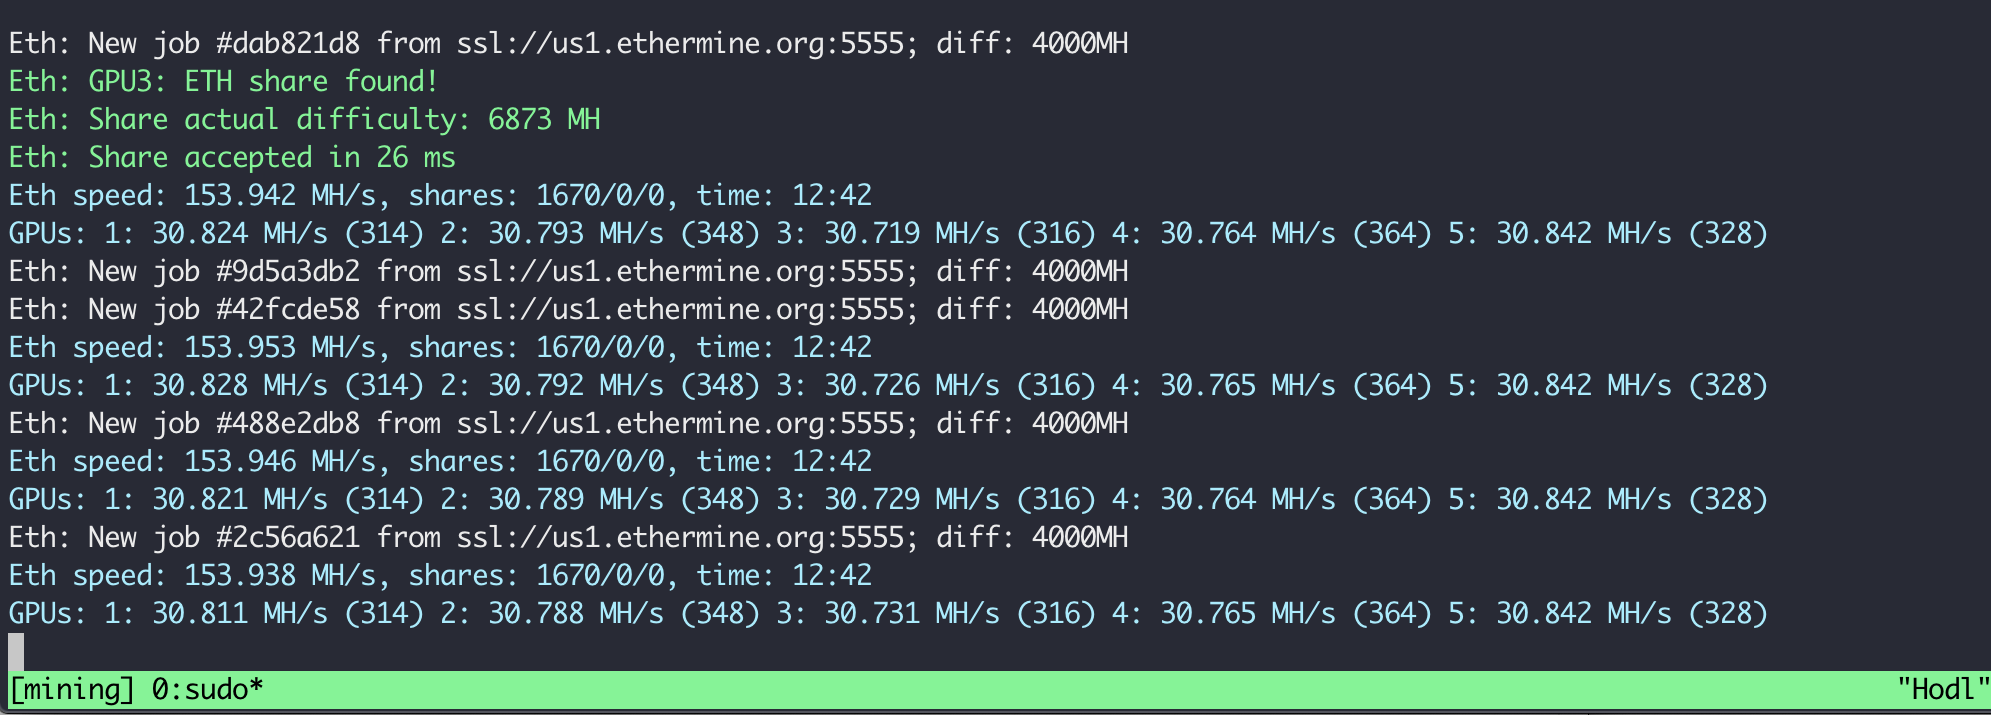
At this point, you can run your preferred Ethash GPU mining worker.
Install ROCm System Management Interface⌗
The rocm-smi tool exposes functionality for clock, power and temperature management of your system. We will be running the tool directly in this guide instead.
| Option | Description |
|---|---|
| –setsclk LEVEL [LEVEL …] | Set GPU Clock Frequency Level(s) (requires manual Perf level) |
| –setmclk LEVEL [LEVEL …] | Set GPU Memory Clock Frequency Level(s) (requires manual Perf level) |
| –setpcie LEVEL [LEVEL …] | Set PCIE Clock Frequency Level(s) (requires manual Perf level) |
| –setslevel SCLKLEVEL SCLK SVOLT | Change GPU Clock frequency (MHz) and Voltage (mV) for a specific Level |
| –setmlevel MCLKLEVEL MCLK MVOLT | Change GPU Memory clock frequency (MHz) and Voltage for (mV) a specific Level |
| –setfan LEVEL | Set GPU Fan Speed (Level or %) |
| –setperflevel LEVEL | Set Performance Level |
| –setoverdrive % | Set GPU OverDrive level (requires manual |
| –setmemoverdrive % | Set GPU Memory Overclock OverDrive level (requires manual |
| –setpoweroverdrive WATTS | Set the maximum GPU power using Power OverDrive in Watts |
Read more about the tool on github here